How it Works: Preen Garden Weed Preventers
Here's how our Garden Weed Preventers prevent weeds before they even sprout rather than killing them after they’ve already had the chance to grow.
Maybe you’ve seen them on a plate at an upscale restaurant or maybe you’ve come across them in someone’s post about their tiny home garden - wherever you’ve seen microgreens, you might be wondering, what are these tiny plants?
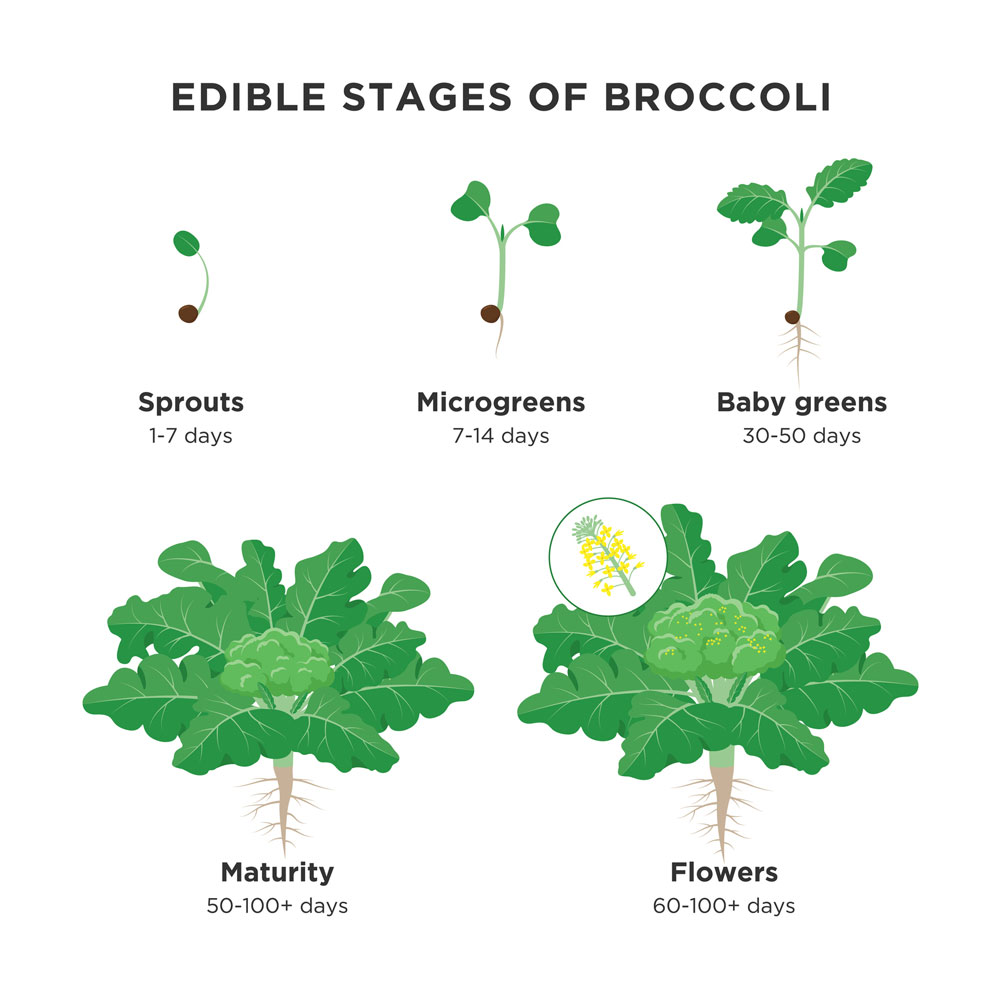
Microgreens are the seedlings of various vegetables and herbs. From radish to kale, to sunflower, there are loads of different microgreens that can be grown, each with its own unique flavor. Given that they are seedlings, microgreens are in the second stage of plant development. They come along right after sprouts, so if sprouts are the babies of the plant world, microgreens are the toddlers. And much like a toddler, these young plants pack a punch despite their small size.
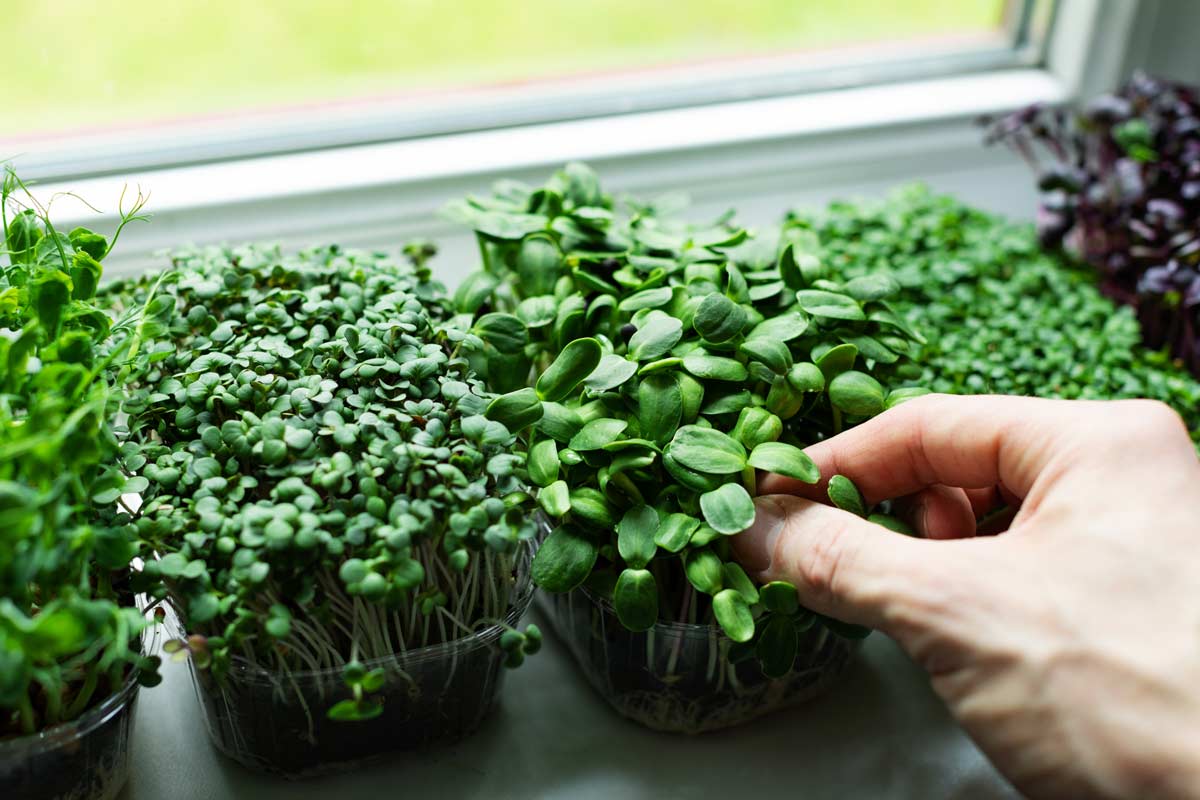
Ronstik / iStock / Getty Images Plus
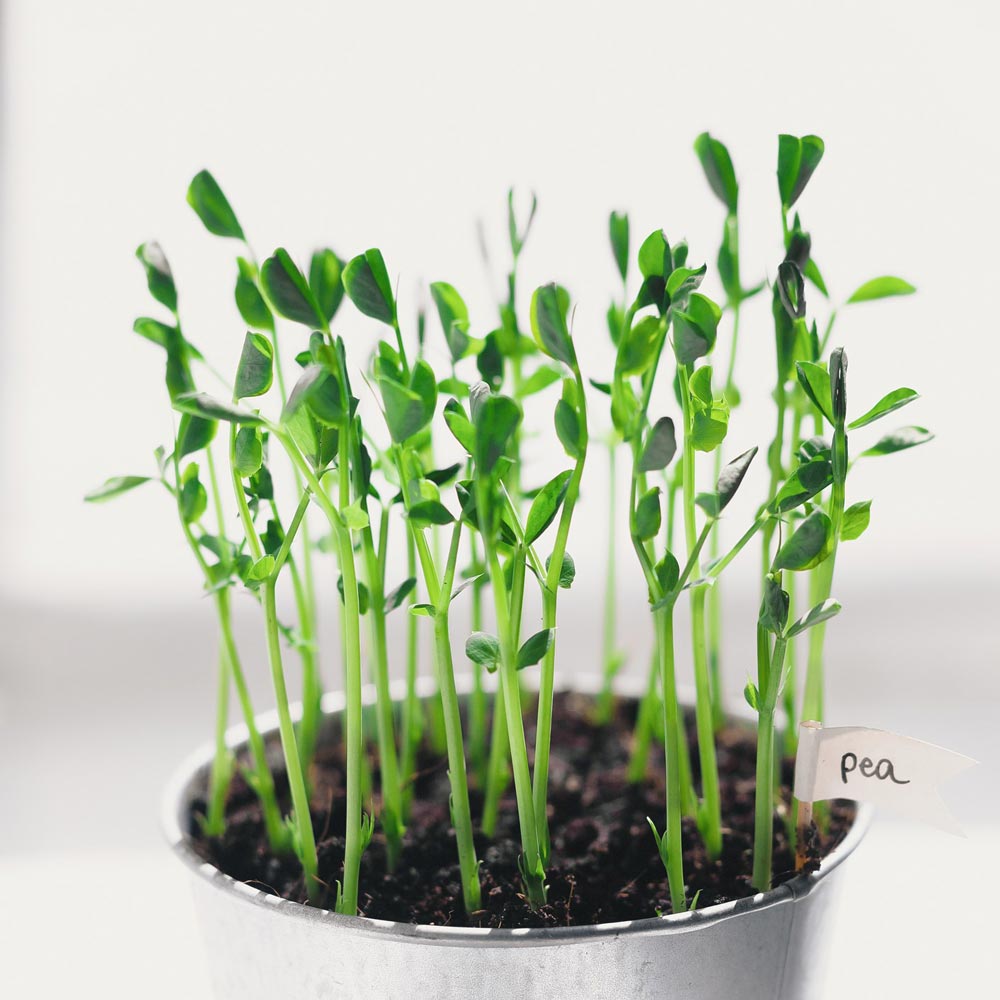
While tiny, growing around one to three inches tall, microgreens contain a big flavor and have great nutritional value.
The flavor of microgreens depends on their variety. There’s the nutty alfalfa, zesty basil, spicy radish, and countless other flavor choices. While there are some neutral varieties, like kale and parsley, most microgreens adopt a strong flavor due to the concentration of the mature plant’s flavor in such a small green.
Just as the older plant’s flavor is concentrated in microgreens, so are the nutrients. Microgreens often boast significantly higher levels of vitamins, minerals, and antioxidants than fully grown plants. So not only are they a tasty addition for an extra kick to your meals, but they’re healthy too!
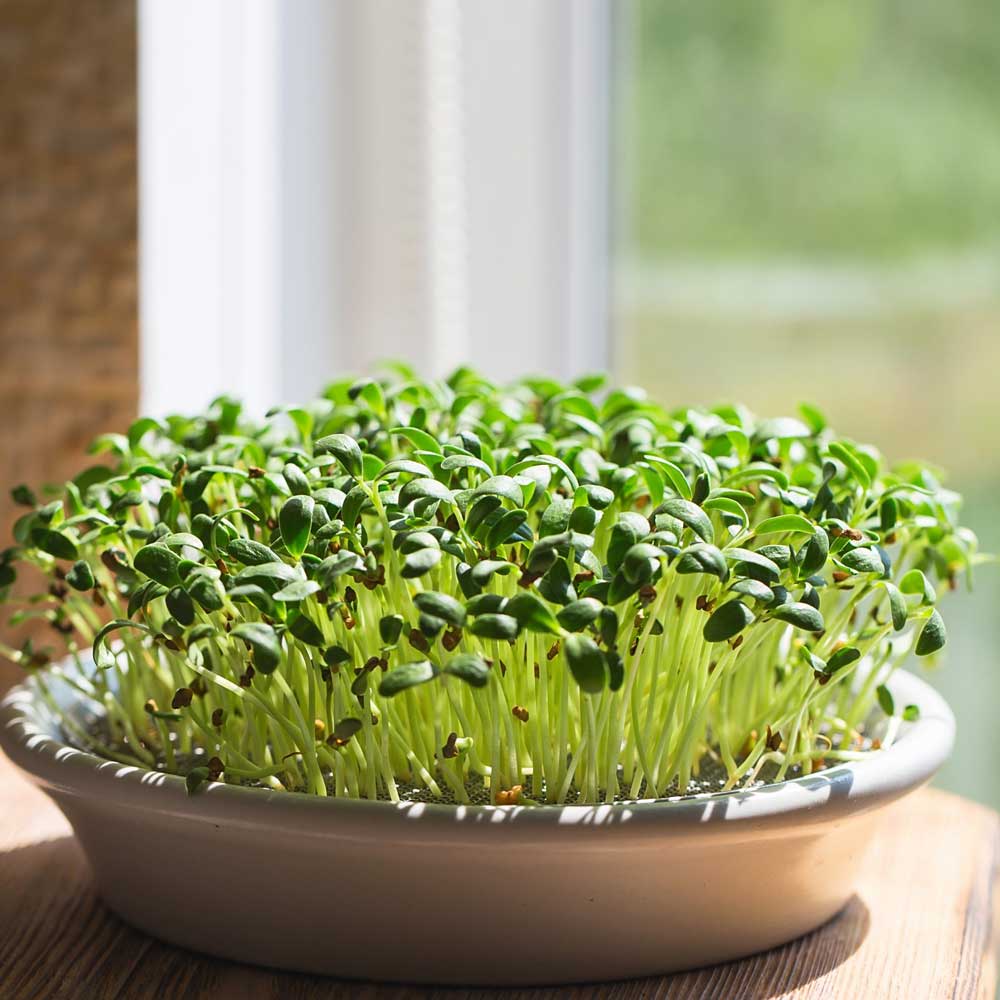
Flavor and nutrition aren’t the only reason these tiny greens are all the rave though; they’ve also become popular in the home garden because they are super fast and easy to grow.
Besvershenko / iStock / Getty Images Plus
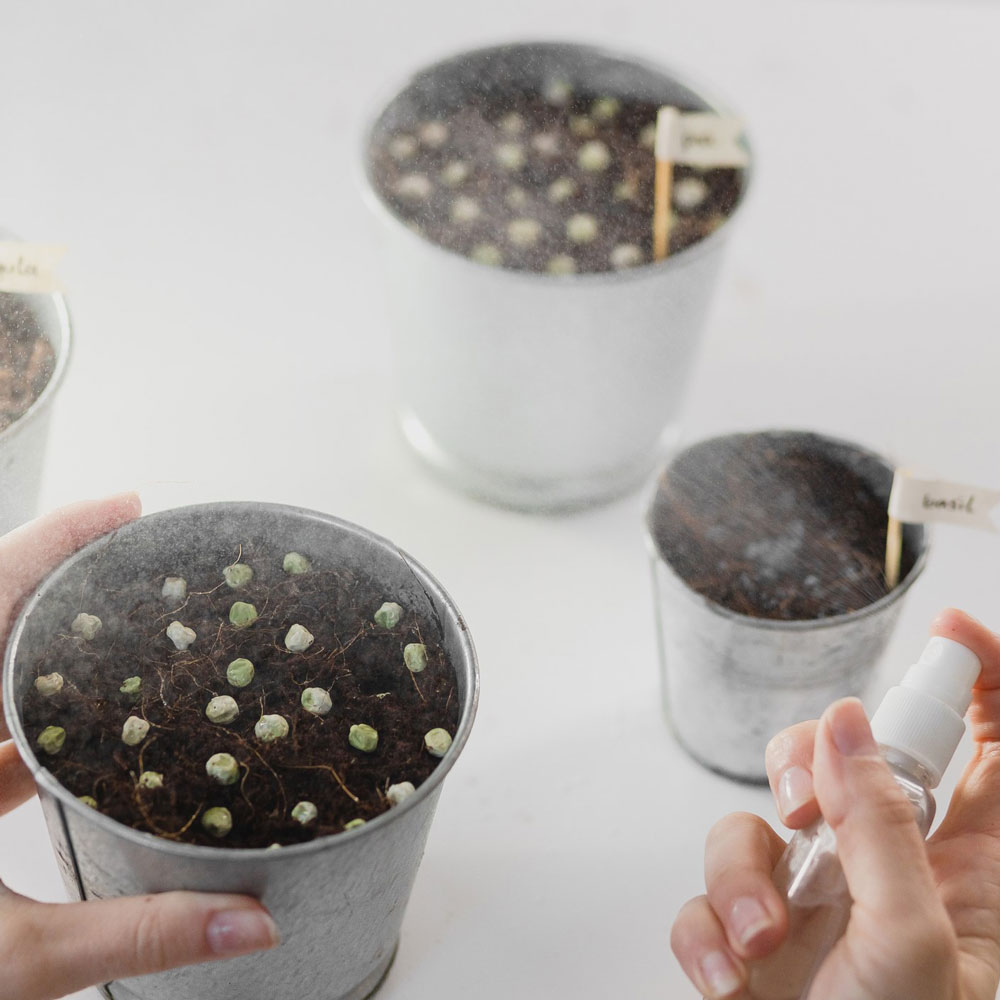
Often said to be ‘from seed to feed in just 1-3 weeks it is no wonder so many people have added microgreens to their at-home garden. To begin your own microgreen garden, you'll first need to pick a suitable location.
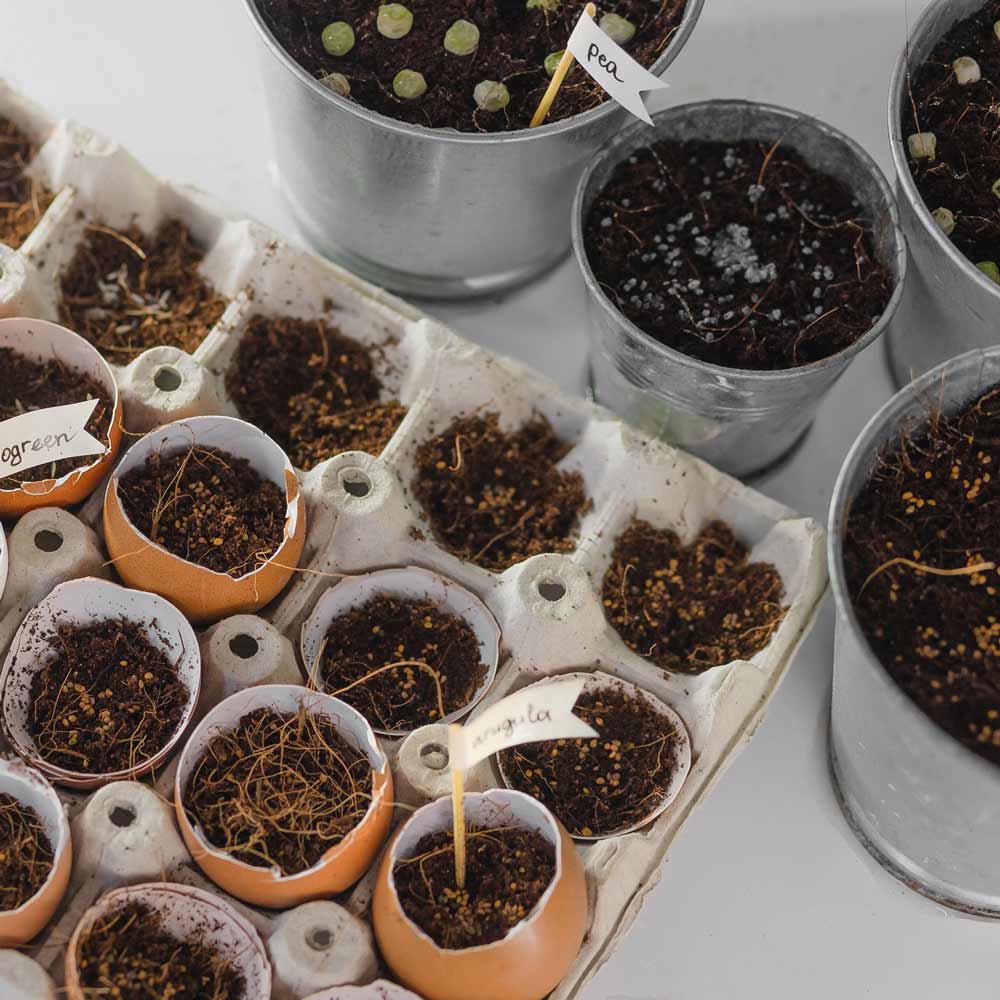
A handy tip: grow your microgreens one tray at a time. This will spread the growth over time so that you can have fresh greens multiple different times rather than harvesting all the plants at once.
nata_zhekova / iStock / Getty Images Plus
Viktoriia Yanushevych / iStock / Getty Images Plus
Once you harvest your greens you may wonder, can I regrow the plants that I cut? The answer: maybe. Regrowing microgreens after cutting largely depends on the type of greens you planted. If you happen to plant a variety that is able to be regrown, the second harvest is likely to be much smaller, slower, and have a different taste. So, while they can be regrown, it is usually best to start over with new microgreen seeds.
The cut greens aren’t totally useless, though, if they can’t be regrown - add them to your compost pile or keep them in the containers to serve as organic matter for your next round of plants.
Viktoriia Yanushevych / iStock / Getty Images Plus
While you may have only seen them as a garnish, microgreens are super versatile and can be used in an endless variety of dishes for added flavor, nutrients, color, or even texture. Here are some dish ideas for your next tiny plant harvest, and remember, you can always vary any microgreen recipe to use as many or as few of the greens as you want.
Viktoriia Yanushevych / iStock / Getty Images Plus