
Making Sense of Seeds
Shopping for seeds can be confusing. Not sure what different terms on your seed packs mean? Read this article to learn more.
You’ll save a bundle of money starting your own vegetable plants from seed – and have a better variety selection, too. And you don’t need a greenhouse, a fancy light contraption, or even special "grow lights" to do it either… just a few bits of know-how to sidestep common pitfalls.
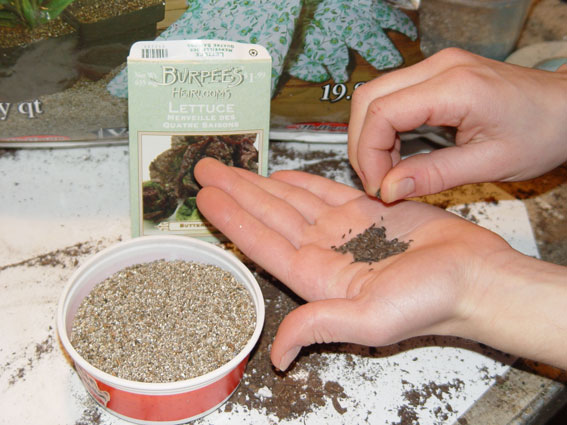
Start by scattering seeds into containers two-thirds full with seed-starting mix or vermiculite. © George Weigel
The first “secret” is to start the seeds in a small container, then move selected seedlings to the cell packs or pots where they’ll grow. This gives you better, more even results than starting seeds directly in the packs or pots. Your starting containers can be small, four-inch pots or recycled household items, such as clean margarine tubs, cut-off milk containers, or yogurt cups with a few small drainage holes poked in the bottom.
Fill the containers two-thirds full with seed-starting mix or a light-weight, flaky material vermiculite – both available in bags at garden centers and home center. Then scatter the seeds (a few more than you think you’ll need), and cover with a quarter-inch of the same mix or vermiculite. Consult the seed packs because some seeds sprout best when tamped into the surface and left uncovered. Lightly sprinkle with water until it drains out the bottom, and you’re ready to sprout.
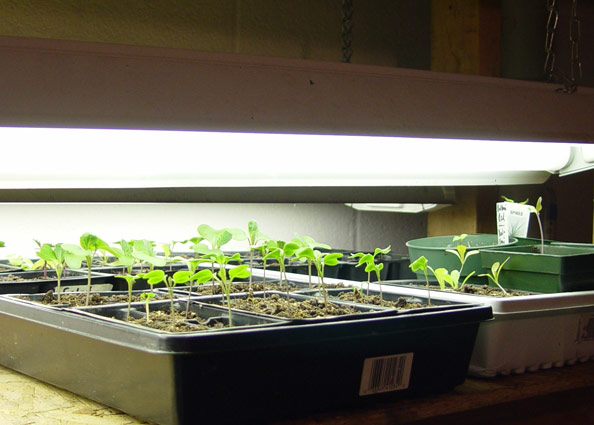
Grow seedlings two to three inches under workshop lights, turned on 14 hours a day. © George Weigel
Set your seed containers in plastic trays without holes (foam, grocery-store meat trays are a free option), and cover them loosely with plastic wrap to hold in moisture. The seed packets tell you ideal sprouting temperatures of each variety. Most prefer around 70 degrees, but a few like it warmer, and a few need light to germinate. Set those on top of an appliance (water heater, TV, refrigerator) or near a sunny window. The fastest germinators will be up in five to seven days. Others may take three weeks. The key at this stage is making sure your seed mix stays damp. Check every few days, and if the surface is dry, lightly sprinkle more water. Or add water to the trays so the mix can draw it up.
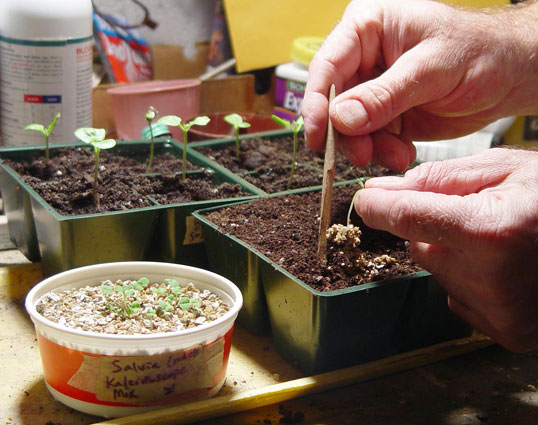
Use a pointy object to lift selected seedlings from sprouting containers and into growing pots or cell packs. © George Weigel
Once the first set of leaves has unfurled, use a pencil or similar pointy object to lift the best seedlings into individual pots. Use a light-weight potting mix or seed-starting mix in these containers – not cheap or heavy potting soil or soil from the garden. The containers can be new ones or recycled pots or cell packs that have been soaked for 10 minutes in a bleach solution of one part bleach to nine parts water. Label each pot or pack, and set them in plastic trays (available from garden centers and home centers).
Seedlings grow fine under ordinary fluorescent workshop lights. Keep the lights two to three inches above the seedlings, and give them 14 hours of light per day. A timer regulates the light time automatically. Hang your lights from chains and hooks so you can adjust the height as the seedlings grow. Add water to the trays to keep the seedling mix damp at all times. This “bottom-watering” is less disturbing to baby roots and less likely to cause leaf disease than overhead watering.
A quarter-strength, liquid, flower or vegetable fertilizer can be added to the water for a mild nutrition boost. Seedlings grow best in cool temperatures of about 50 to 55 degrees. A basement or unheated room is perfect. One common reason for poor results is that gardeners try to grow seedlings next to windows at room temperature. That combination of limited light and too much warmth produces "leggy" seedlings – ones that are tall and frail from stretching for light.
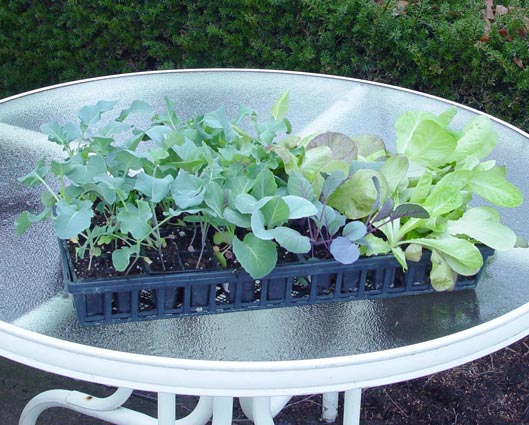
The last step is getting the young plants gradually used to the outside, a process called "hardening off." © George Weigel
Once the seedlings reach transplant size, the last important step is “hardening off.” This involves giving them increasing time and exposure outside, starting with just an hour or two in the shade the first day to full exposure overnight after about 10 days. Water your creations well once in the ground, and protect them from weed competition by scattering the soil surface with Preen Natural Vegetable Garden Weed Preventer once they are established.